A Landlord’s Guide to a Complete Move-out Inspection

Is your renter moving out? Are you wondering whether your house is in the same condition as it was when they moved in? A move-out inspection can put you out of the dark. You can perform a move-out inspection through three steps. But what happens if the tenants have damaged your rental unit? Let’s find out.
What’s a Move-Out Inspection?
A move-out inspection involves examining every part of a rental unit, creating a report, and comparing it with the move-in inspection. It’s typically done when the tenants want to move out, hence the name. It also includes a checklist of all components of the rental unit and their condition.
What’s the Purpose of the Move-Out Inspection in Canada?
The purpose of the move-out inspection is to find any damage inflicted during the tenant’s stay. The move-out inspection helps the landlord and the tenant to fairly decide whether the tenant’s security deposit should be fully refunded or some of it needs to be deducted for repairs.
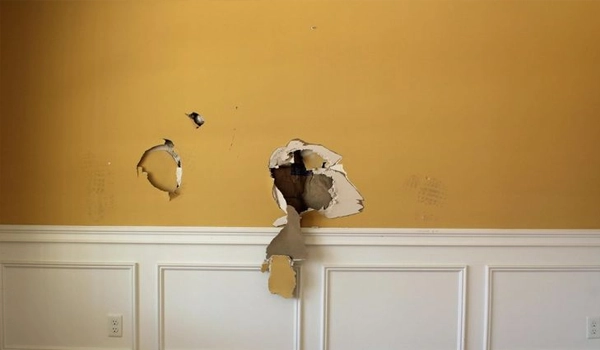
Of course, some wear in the condition of the house might be unavoidable, depending on the duration of the lease. For instance, minor scuffs or faded paint shouldn’t be considered a problem in the move-out inspection. It’s stuff like broken fixtures or large stains that require attention.
Do you need to conduct a home inspection before selling your house? Click on pre-listing home inspection to find out.
How To Do a Move-Out Inspection?
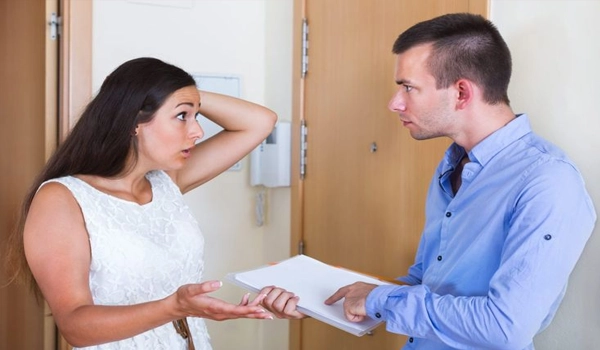
Both the renter and the owner should be present for the move-out inspection to avoid potential disputes. You can have a professional inspector do the inspection or do this yourself by following these steps. But before you get down to the job, you should take a look at guidelines on how to prepare for a home inspection.
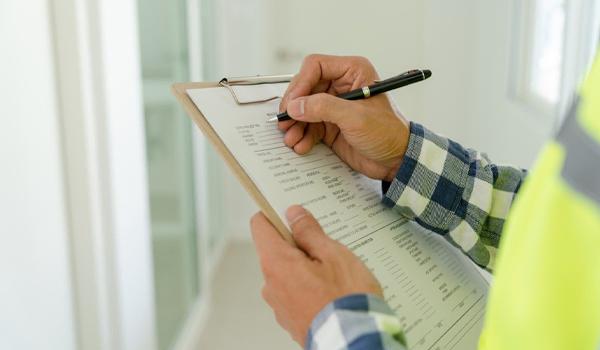
STEP1: Create a Move-Out Checklist
You need a checklist to make sure nothing skips your inspection. Also, a checklist makes your inspection more organized and systematic. The checklist must cover every part of the house, from the entrance to dark corners in the attic.
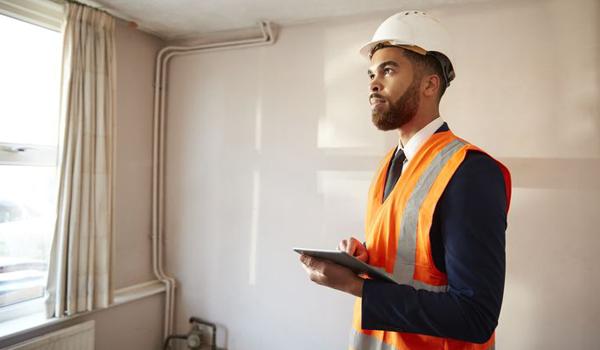
STEP2: Address and Assess Any Damages
As you inspect the home room by room, you should take photos of the damaged areas and compare them to the ones you have taken in the move-in inspection. This helps you decide whether the tenant is responsible for the damage, and if so, you should estimate the cost of repairing the damaged area.
STEP3: Return the Security Deposit
After inspecting the home, assessing its condition, and estimating the costs of potential repairs, you should return the security deposit within a mutually agreed return deadline. You must fully refund the deposit if no major damage is detected, and if you find anything, you should provide a pre-invoice or receipt for the money you want to deduct from the deposit to repair the damage.
Tenant Move-Out Inspection Checklist
An exhaustive move-out inspection checklist must cover the following items. Click to download a printable move-out inspection checklist.
- General cleanliness: check that all trash has been removed and the house doesn’t smell.
- Walls, ceilings, and floors: check for molds, stains, cracks, and holes.
- Kitchen: cabinets, drawers, sink, faucets.
- Bathrooms: tubs, toilets, showerheads, faucets, mirrors.
- Windows and doors: window screens, functioning locks, proper opening and closing.
- HVAC: heaters, ventilators, and air conditioners.
- Plumbing and electrical: drainage system, water pressure, power outlets, switches, lights.
- Appliances: stove, microwave, dishwasher, fridge, freezer, washing machine.
Also read: Home inspection checklist for sellers.
What To Do if a Tenant Damaged Your Rental Unit?
If, during the move-out inspection, you noticed damage beyond normal wear and tear, you should take photos or record a video of the damaged areas as proof that it wasn’t there when you rented the unit. Then, you ask a contractor to quote the price for repairing the damage, deduct it from the security deposit, and pay back the remainder.
The Bottom Line
The move-out inspection helps the renter and the landlord assess the house's condition and determine if the renter is responsible for the potential damage. It allows both parties to avoid disputes. You should have a checklist inspection, examine the house accordingly, and summarize the results in an inspection report. Comparing the move-out with the move-in inspection report indicates if you should deduct anything from the security deposit before you refund it.


- In this post:
- What’s a Move-Out Inspection?
- What’s the Purpose of the Move-Out Inspection in Canada?
- How To Do a Move-Out Inspection?
- Tenant Move-Out Inspection Checklist
- What To Do if a Tenant Damaged Your Rental Unit?
- The Bottom Line