Macrame Wall Hanging DIY for Beginners + Patterns

There is nothing that can hold you from having a gorgeous macrame wall hanging DIY. Whether you are a beginner or a professional, there are a lot of macrame patterns that you can make and hang on your wall. In this article, we are going to tell you all you need for a macrame wall hanging DIY. We will start with some information about this art itself, the basic macrame knots, and then talk about macrame patterns and instructions.
What Does Macrame Come from?
It is widely believed that macrame comes from the Arabic word “migramah”, meaning fringe. Migramah refers to the 13th-century tradition of Arabic weavers who used to create decorate fringes on camels and horses to keep the flies away from them. It may also come from the Turkish word “makrama”, which means towel or napkin.
In the Victorian era, macrame was most popular. It was also a favorite hobby of British and American sailors in the 19th century. They made small ones and sell or trade them in port. In the 1970s, macrame wall hanging DIYs became popular again with the hippie culture. And now they are a charming trend, especially Boho macrame wall hanging DIY with their Bohemian and tribal hints.
What Do You Need for a Macrame Wall Hanging DIY?
It is a good idea to have a home macrame wall hanging DIY kit. This way, you are always ready to practice macrame knots or start large projects anytime you want.
- Cotton macrame cord also called rope.
- Wood or metal dowel; you can also use an equivalent tree branch or driftwood to give a more natural look to your wall art.
- Painters tape to seal the ends. Although melting them flame is also an option.
- Tape measure
- Scissors
Cord, support, and scissors are the essentials for a macrame wall hanging DIY. If you ever wanted to try other projects, you may need other items too (for example a hanging ring for creating plant hangers).
Also, instead of using a cord for your macrame wall hanging DIY, you can use yarn too. But remember that the size of your macrame knots will be as big as the yarn that you use. The smaller the string, yarn, or cord, the smaller the macrame knots. It is better to avoid yarns that are too small because the knots will not be very visible.
If you have a really small macrame wall hanging DIY in your mind (or you want to use it in making pieces of jewelry), yarn is perfect. But for a large wall hanging, a cord is a better option.
What Are the Basic Macrame Knots?
If you are a beginner, it is a good idea to know and practice macrame knots before making your macrame wall hanging DIY. To avoid confusion, here are the terms you need to be familiar with before starting:
- Knotting cord: A cord or set of cords used for making the knot for any given stitch.
- Knot-bearing cord. A cord or set of cords that the knotting cords wrap around (The knotting cord and knot-bearing cord can change from step to step in macrame patterns).
- Sennit: A knot or set of knots that is worked in repeat. For example, 6 half knot stitches in a row is a sennit of 6 half knots.
Below, there are basic knots that you may need to use in your macrame wall hanging DIY.
Lark’s Head Knot (Cow Hitch Knot)
The first knot you need to know before starting a macrame wall hanging DIY is the Lark’s Head knot. This knot helps you attach the macrame cords to support (dowel, branch, etc.). For this knot:
- Fold the cord in half and place the loop over the support.
- Bring the loop around the back and pull the cord ends through the loop to tighten.
Reverse Lark’s Head Knot
In the reverse version of Lark’s Head knot, the bump is hidden in its back. You need to:
- Fold the cord in half and place the loop under the support.
- Bring the loop round to the front and pull the two cords through the loop to tighten.
Square Knots and Half Knots
One of the popular knots in macrame wall hanging DIYs or macrame plant hanger DIYs are square knots and half knots, which can be left facing or right facing.
A square knot has at least 4 cords (2 working cords and 2 filler cords), with the first and last cords being called working cord #1 and working cord #4. The middle cords are filler cords (#2 and #3). These cords switch places when creating macrame patterns, but maintain their number. And a half knot is half of a square knot. And depending on the side that you start, it can be right facing or left facing as we mentioned.
For a left-facing half knot and square knot (which has a vertical bump on the left side of the finished knot):
- Take the working cord #1 and move it to the right over the middle #2 and #3 cords (filler cords) and under the working cord #4.
- Next, move the working cord #4 to the left under the two filler cords and over the working cord #1.
- While keeping the filler cords straight, pull the working cords to tighten. Your left facing half square knot is done.
Half Hitch (Vertical & Diagonal) Macrame Knots
Macrame patterns use various variations of the Half Hitch knot. For the vertical variation, you will need to work with two cords (or more). The left cord will be the knotting cord, and the right cord will be the knot-bearing cord. Here are its steps:
- After a Lark’s Head knot, bring the knotting cord (left one) over the knot-bearing cord (right one).
- Wrap the knotting cord around the knot-bearing cord. Bring it under the knotting cord and back over itself to create a loop.
- Pull to tighten, and repeat for a sennit (which naturally begins to spiral).
In case you needed the diagonal in a macrame wall hanging DIY, which is similar to the horizontal, pin the knot-bearing cord diagonally before working the stitches. Like this:
- Secure the cords to a support with the reverse Lark’s Head knot. So the left cord will be the knot-bearing cord and other cords will be knotting cords.
- Secure the knot bearing cord to the left of the knotting cords using a pin.
- Hold the knot-bearing cord diagonally across the knotting cords, and pin it to their right.
- Start with the further left knotting cord, looping it over the knot-bearing cord and under itself.
- Loop the same knotting cord over the knot-bearing cord and then through the loop between itself and the first time you knotted it.
- Pull to tighten, and repeat the previous two steps until you reach the end of the diagonal.
Macrame Wall Hanging DIY Tutorial
There are tons of macrame wall hanging DIY instructions with beautiful patterns. Instead of just teaching you one, here are some resources for macrame patterns to find the one that suits your taste and decoration better.
Free Macrame Patterns
This website offers articles for beginners, a macrame dictionary, and a section for kids! They also have various free macrame patterns for you. In addition to finding macrame wall hanging DIY instructions, you can buy macrame pattern books, dyed cords, and decorative beads and rings in their Etsy shop.
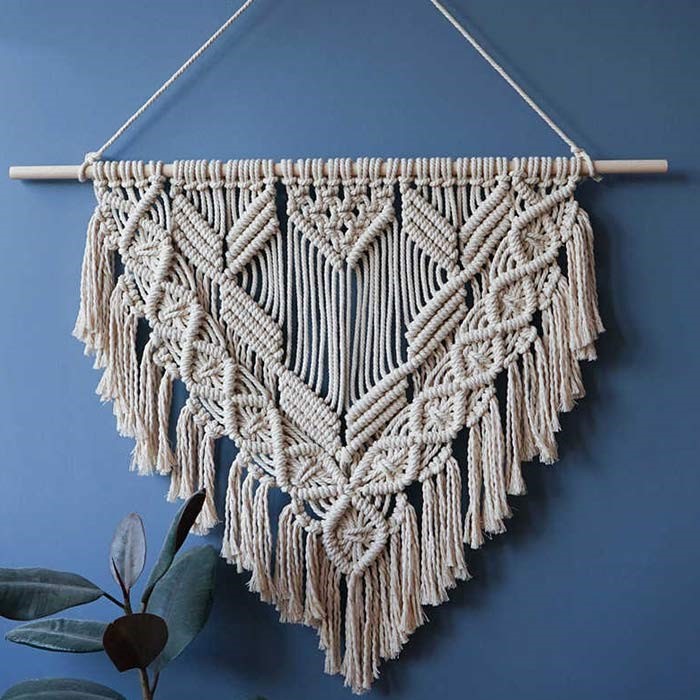
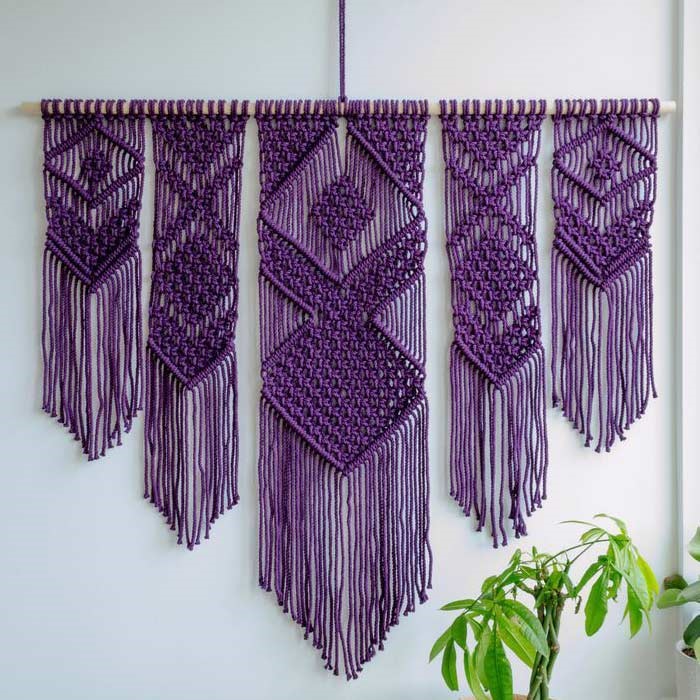
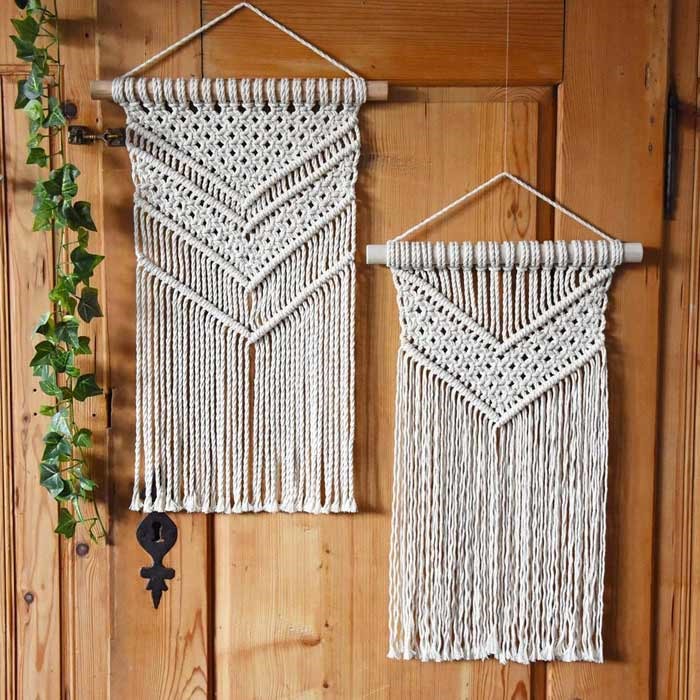
Macrame Wall Hanging DIY Ideas
Head over to Happiness Is Homemade to be mesmerized by its list of 11 Boho macrame wall hanging DIYs. They have included ideas from different designers and artists with gorgeous modern macrame patterns. Give them a try and you find yourself falling in love with this vintage art.


- In this post:
- What Does Macrame Come from?
- What Do You Need for a Macrame Wall Hanging DIY?
- What Are the Basic Macrame Knots?
- Macrame Wall Hanging DIY Tutorial