How to Fix Chipped Paint on Wall

It's undeniable that having paint peeling off the wall on a flawlessly painted wall is unbearable!
If your paint has experienced a few years of wear and tear, dents and chips are normal.
Don't worry about it, though. It will be simple to repair paint chips on a wall if you have a few tools and know-how.
Here's the catch, though. Your new work will stay that way if you know what to avoid and what to keep in mind in this “how to fix chipped paint on a wall” article.
Assessment of Damage
First, assess how much of the peeling has occurred. Determine which areas have loose, peeling, or blistering paint.
Take care not to harm the underlying surface as you carefully remove the loose paint with a scraper or putty knife.
Examine the wall for any hidden damage, such as holes, fractures, or wetness. Prior to adding a fresh coat of paint, these problems should be resolved since they may impact the paint job's smoothness.
Think about things that could have caused the paint to peel, such as applying too many coats of paint, not properly priming the surface, extreme heat, moisture damage, or low-quality paint.
When the assessment is done, the result might be categorized into one of these categories:
- Minor Flaking: After repairing any little surface faults, this may be fixed using touch-up paint.
- Peeling Sections Less Than a Square Foot: For these, you'll probably need to sand the surface, remove any loose paint, and repaint the area in question.
- Significant Paint Peeling or Underlying Problems: It's advisable to get expert help for an accurate assessment and repairs if you see significant paint peeling in areas or if you think there may be moisture issues.
Identify the Paint Type
When assessing the pealing, you should be able to identify the paint type to choose a proper solution for fixing the paint peeling off the wall:
- The Rubbing Alcohol Test is a quick and easy way to tell which paint is water-based. Using a cotton swab, lightly apply rubbing alcohol to a concealed section of the painted surface. It's probably water-based if the paint pigment clings to the swab. It is most likely oil-based if it doesn't.
- The Water Test: This test aids in identifying paints that are oil-based or water-based. A small area of the painted surface should have a few drops of water applied to it. Paint that is oil-based is probably the case if water beads up instead of soaking in. Paint that absorbs water is most often water-based.
- The Visual Inspection: In certain cases, only observing the paint might help you determine its type. In comparison to water-based paints, oil-based paints often have a glossier finish and a stronger smell. Furthermore, water-based paints usually keep their original color over time, whereas oil-based paints have the potential to become yellow.
Now the question is: How to fix chipped paint on a wall?
Below we have explored the other steps you should follow in order to fix the paint peeling off the wall.
Gathering Materials
If you are wondering how to fix a chipped wall, first you should gather the material you need.
- Scraper
- Various grits of sandpaper
- Filler
- Filler knife
- Decorator's mask
- Paintbrush
- Primer
- Paint
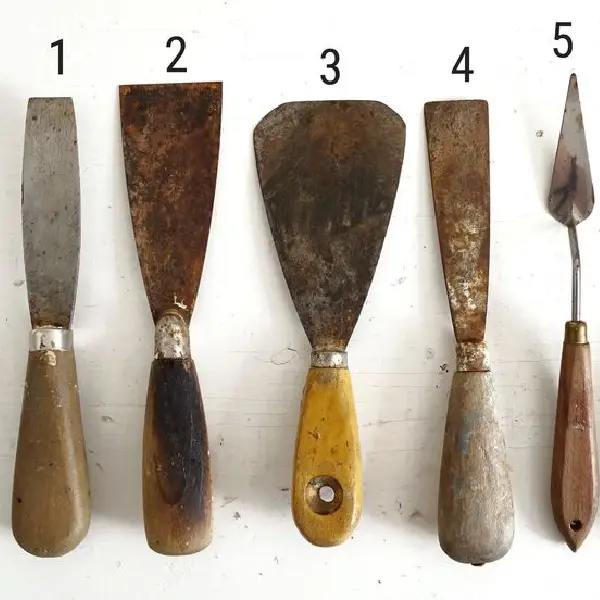
image sourced from here
Surface Preparation
Surface preparation includes particular steps which are explained below:
Prep Your Workspace
Put on a safety mask, goggles, and gloves to protect yourself even if your paint isn't lead-based.
Place a large piece of plastic or a tarp in the area where you're working to collect any errant paint particles, regardless of the size of the area or the type of paint used.
Securely tape off adjacent trim pieces, such as baseboards, and take out any furniture, carpets, or other finishing elements from the room. Paint should not go on other surfaces in the room; instead, use drop cloths.
Eliminate Areas of Peeling Paint
You'll need to paint over any flaking paint in the affected region. To remove any remaining paint, use a paint scraper or wire brush.
When scraping, avoid using too much pressure since this might harm the surface underlying.
Create a Level Surface
Sand the area to guarantee a wall surface clear of any lines or grooves, whether or not you've had to fix the peeling paint area.
To smooth the region down, use sandpaper with extremely fine grit. To make sure the surface is perfectly level with the surrounding wall, run your palm over it.
Priming the Repaired Area
A smooth and durable finish can be achieved by priming the repaired area before painting.
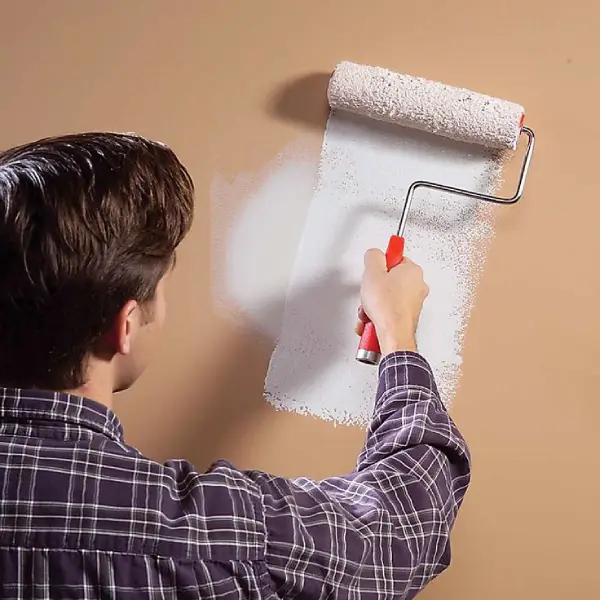
image sourced from here
Applying a primer before painting is essential for repairing any surface, whether it is metal, wood, or drywall.
This will seal the surface, give the paint adherence, and stop any underlying problems from harming the freshly painted surface.
One method you might utilize if you've previously painted the surrounding area is termed "spot priming."
To provide a smooth transition between the repaired and existing paint, a thin coat of primer must only be applied to the repaired area.
If you do not know what primer to choose for your surface, read these tips:
- For porous surfaces (such as wood, plaster, or drywall), latex primer is the best choice because of its superior adherence, ease of application, and short drying time.
- Non-Porous Surfaces: These include shiny, plastic, and metal surfaces. For these types of surfaces, an oil-based primer works best because of its high adherence and stain-blocking properties.
- Masonry surfaces, such as concrete, brick, or stucco: To seal the porous surface and provide a foundation for paint adherence, a specific masonry primer is required.
For more information about choosing the right primer, click here.
Matching and Applying Paint
The next step after priming the wall, is painting it. But here is a question: How to fix a chipped wall with painting when we do not know what paint is used?
No worries, we have your answer here.
Below we have mentioned some of the most efficient ways for you to easily determine the paint that is applied to your wall:
- Slice a little paint off the wall and take it to a painting professional. Painting jobs and touch-ups on walls that call for an exact match in hue. To get an objective color match, the spectrophotometer reads from a real paint sample as opposed to a swatch.
- Grab some cloth or thread: Matching furniture or walls to accent pieces or cherished objects already in the space. The color inconsistencies that occasionally appear on computer screens and images are eliminated when the color matches with a physical object.
- Using a color-matching device such as the Nix Mini 2: Obtaining a nearly exact color match for touch-ups and almost any DIY painting project.
For more information about determining the color painting on your walls, click here.
Drying and Finishing
Depending on the sort of paint you're using, there may be a drying period in between layers.
Applying a second layer of paint should usually wait two to four hours for water-based latex paint and twenty-four hours for oil-based paint.
Drying periods may be impacted by humidity and temperature. Paint dries more quickly in warm, dry weather. Paint will require more time to dry in chilly, muggy circumstances.
The drying times of different paint finishes vary. Matte paint dries more quickly than satin or eggshell paint, which dries more quickly than high-gloss paint.
To achieve a smoother surface, you can try these:
- Smooth sanding: Before applying a fresh coat of paint, surfaces that are rough or uneven are usually lightly sanded. It entails sanding the surface gently in a circular motion using fine-grit sandpaper, often 220 grit.
- Clear Coat with a painting sponge for a lovely, smooth finish, but you may also use a paintbrush with synthetic bristles if you'd like.
Preventive Measures
Here are some useful tips you might want to consider to avoid peeling off the wall in the future:
- Prevent Water Damage: One of the main causes of paint peeling is water. Use caulk or waterproof coatings to seal moisture-prone areas such as kitchens, bathrooms, and external walls.
- Thoroughly clean the surface: Use a wire brush or scraper to remove any loose paint as well as any dust, grease, and grime before painting.
- Apply premium paint that is appropriate for the surface and surroundings. Think about things like temperature, humidity, and exposure to sunshine.
Conclusion
If you are wondering how to fix the paint on the wall, fixing the wall peeling consists of the 6 general steps: damage assessment, gathering materials, surface preparation, filling and patching, priming, matching, and applying the paint.
In this article, we have mentioned each of these 6 steps in addition to a detailed explanation for each one.


- In this post:
- Assessment of Damage
- Identify the Paint Type
- Gathering Materials
- Surface Preparation
- Priming the Repaired Area
- Matching and Applying Paint
- Drying and Finishing
- Preventive Measures
- Conclusion