Preparing Surfaces Before Painting

The importance of preparing surfaces before painting cannot be overstated when painting a surface.
Similar to how an artist prepares their canvas, thoroughly prepping the surface guarantees a smoother paint application, reduces the chance of peeling or blistering, and enhances the overall quality and superior outcome of the paintwork.
To get a high-quality outcome, it is important to ascertain the overall finish, lifespan, and durability.
Remember, a poorly prepared surface cannot be covered up by any paint, no matter how good. A professional-looking paint job is the result of careful and thorough surface preparation.
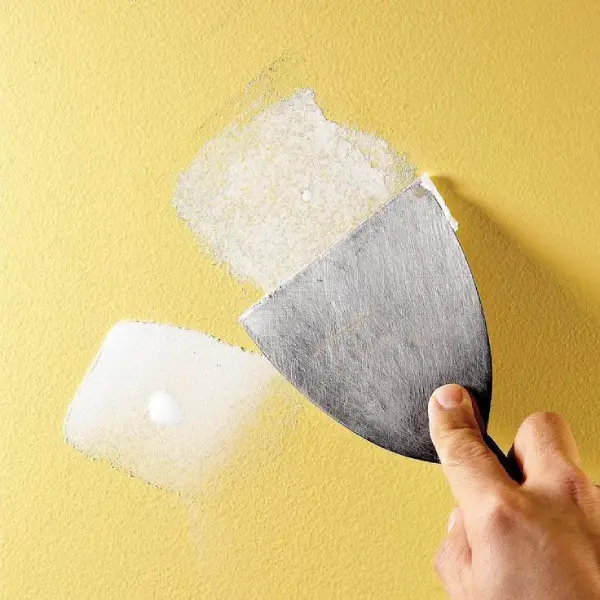
image sourced from here
What is Paint Prep?
The most important subject in preparing surfaces before painting is the agents and tools you use for this job.
Choosing the Right Cleaning Agents
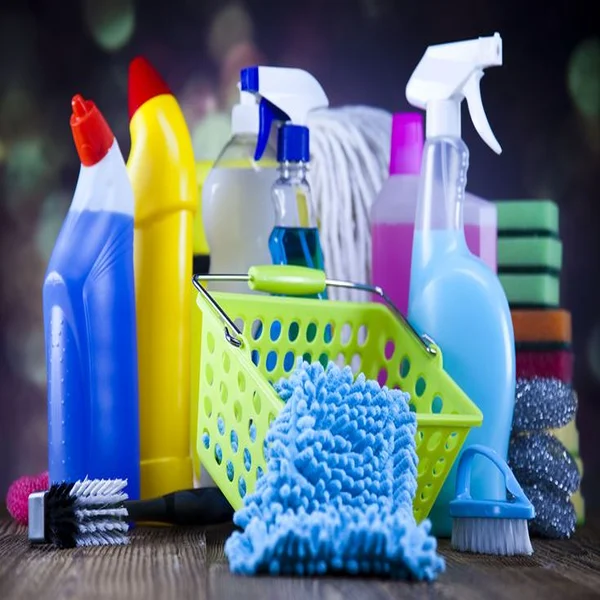
image sourced from here
Below we have mentioned some of the crucial tips in choosing the cleaning agents for wall preparation before painting.
- Determine the Surface Material: Ascertain the surface material that has to be cleaned before choosing a cleaning solution.
- Carefully Read Product Labels: Before using any cleaning chemical, always make sure you have read the product labels. This will include details on the product's intended purpose, safety measures, and any unique instructions.
- Take into Account the Kind of Dirt or Stain: Determine the kind of stain or filth that has to be removed.
- Select Gentle Cleaners for Frequently Needed Cleaning: For routine cleaning, use gentle, multi-surface all-purpose cleansers.
- Apply Professional Chemicals for Tough Stains: Use cleaning solutions made specifically for materials like granite, stainless steel, or glass to get rid of tough stains.
- Test the Cleaning Agent: Make sure the cleaning agent doesn't cause any negative reactions or discoloration by testing it on a tiny, discrete area before applying it to the entire surface.
Important Tools for Preparing Surfaces Before Painting
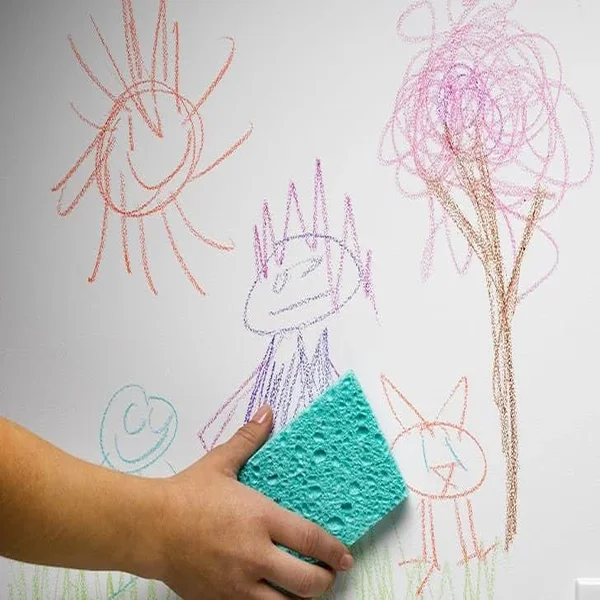
image sourced from here
Here, we discuss the best solutions for surface prep for painting you need to know.
- Sugar Soap Solution: Follow the manufacturer's directions and combine sugar soap, a light detergent made especially for washing walls, with warm water if you wonder what prep work painters do before painting.
- Trisodium phosphate (TSP) Solution: TSP is a powerful cleanser that works well for difficult cleaning jobs. As directed on the product packaging, mix TSP with warm water. Apply the mixture to the walls using a scrub brush or sponge.
- Vinegar and Water Solution: A homemade remedy for cleaning that works well to get rid of filth and grime is vinegar. Combine equal amounts of warm water and white vinegar. Apply the mixture to the walls using a sponge or a spray bottle.
- Commercial Wall Cleaners: A variety of commercial wall cleaners that are designed especially for cleaning walls before painting exist on the market.
- Sanding: Sanding may be required for walls that have uneven surfaces or stains that won't go away. Sand the walls lightly with fine-grit sandpaper until the surface is smooth.
The Power of Priming in Preparing Surfaces Before Painting

image sourced from here
Another crucial step in surface preparation for painting is remembering how important using the primer is.
Types of Primers for Preparing Concrete for Paint
There are mainly 5 types of primers we explore below:
- Oil-Based Primer: Perfect for heavily stained, smoke- or water-damaged surfaces. Offers superior adherence and stain blocking.
- Water-Based Primer: a low-odor and environmentally responsible choice. Ideal for most interior wall materials, such as wood, plaster, and drywall.
- Acrylic Primer: This water-based primer is adaptable and works well on a range of surfaces.

image sourced from here
- Shellac-Based Primer: A specialized primer designed to restore surfaces damaged by smoke, grease, or heavy stains. Offers superior stain-blocking capabilities.
- Alkyd Primer: An improvement in drying time over conventional oil-based primers. Offers strong stain-blocking and adhesion qualities.
Proper Application Techniques
Being aware of various types of primer is not enough for preparing surfaces before painting, you have to know what techniques are crucial for applying it.
- Use Painter's Tape: Wrap any places you wish to keep out of the paint or primer by using painter's tape. This will keep paint or primer from going on surfaces you don't want to paint, such as a wall with a different finish or color on a wooden frame.
- Fill in Any Pin Holes or Cracks: If there are any pin holes or cracks in the surface, use wood filler or spackle to fill them in with a putty knife. After the area has been filled, sand it to make it level and smooth.
- Apply priming with a Brush: To remove excess priming, dip the brush into the mixture and tap it against the container's side. Now apply the primer using a brush. Working in a single direction, apply the primer to the surface using long, equal strokes. Applying the primer should be done so uniformly and without creating any brush strokes. Use the brush to smooth up any drips or uneven areas that you see.
- Use a brush to apply primer: If applying the primer with a brush, begin by putting your brush inside the primer and pressing it on the container's side to get rid of any extra.
For more information about application techniques of primer in preparing surfaces before painting, refer here.
Ensuring Paint Adhesion
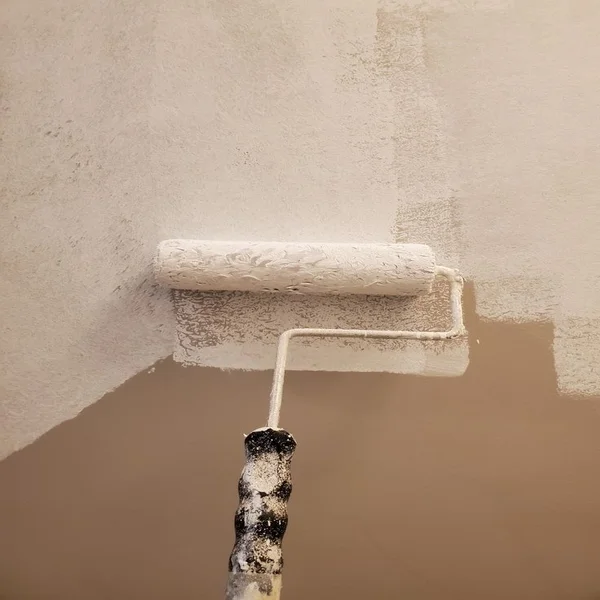
image sourced from here
Another step in preparing concrete for paint is ensuring paint adhesion. The question is, how to do that?
Understanding Surface Porosity
The quantity of space or pores in a wall's construction is referred to as wall porosity. It has a significant role in a wall's capacity to withstand moisture, provide good paint adhesion, and last a long time.
Depending on the materials—bricks, concrete, or wood—used to build a wall, porosity might change. In addition, elements like age, weathering, and moisture exposure may have an impact.
Increased moisture absorption and decreased thermal insulation caused by high porosity might enhance the wall's vulnerability to heat loss and inefficient use of energy.
Conversely, poor porosity may compromise breathability and ventilation but can also lead to improved insulation and moisture resistance.
Tips for Different Surfaces
Depending on the type of surface, paint adherence might change. Paint, for instance, could stick to smooth, non-porous surfaces like glass or metal easily, but it can stick poorly to rough, porous surfaces like concrete or wood.
Paint adherence may be enhanced with proper surface preparation, which includes washing, sanding, and priming.
Choosing the right primer or undercoat and taking into account the kind of surface are two more crucial steps in maximizing paint adherence.
Certain primers may be needed for various surfaces, including metal, plaster, and wood, in order to increase adhesion and guarantee the durability of the paintwork.
Strong paint adherence on drywall may be achieved by being aware of its surface characteristics and taking care of any possible problems.
Since drywall is a porous substance, moisture may be absorbed and eventually released from it. If the surface is not adequately sealed, this moisture might lead to paint peeling or blistering.

image sourced from here
Prior to painting, prep the drywall surface to guarantee optimum paint adherence. By acting as a sealer, a primer separates the paint from the drywall.
It aids in obstructing the absorption of moisture, avoiding blistering or peeling paint. Additionally, primers aid in strengthening the paint's adherence to the drywall, producing a surface that is more resilient.
Pro Tips for Specific Surface
Here we have mentioned some pro tips about preparing surfaces before painting for specific surfaces, such as wood, drywall, and plaster.
This is how to prepare wood surfaces for painting:
- Clean the wood surface: Use a wood cleanser or degreaser to remove any dust, filth, or oil from the wood surface.
- Sand the wood: To get rid of any rough edges or flaws, start with coarse sandpaper (80–100 grit).
- To smooth the surface, gradually switch to finer sandpaper (120–220 grit). Sand with the grain of the wood facing you.
- Eliminate sanding dust: Make sure the surface is completely free of sanding dust by using a tack cloth.
- Apply primer (optional): To enhance paint adherence and coverage, apply a layer of primer to bare wood or wood with noticeable defects. In accordance with the manufacturer's directions, let the primer dry.
For more information about wood surface prep, click here.
This is how to prepare drywall and plaster surfaces for painting:
- Sand the surface: To smooth out any rough patches, sand the surface with 100-grit sandpaper once the joint compound has dried. The surroundings surrounding the restored pieces require further care.
- Apply drywall primer: Coat the whole surface with drywall primer.
- This will provide a more consistent base color and improve paint adhesion.
- Sand the surface once more: To eliminate any last traces of flaws, softly sand the surface with 220 grit sandpaper once the primer has dried.
This is how you prepare plaster surface for painting:

image sourced from here
- Wait for your plaster to dry: This may seem like a simple step, but a lot of people don't realize how long it takes for plaster to dry. It usually dries in one to two weeks, and you have to wait for the brown look to change to pink.
- Sand your walls: After plastering, there can be a few uneven spots. Use your scraper to remove any stray edges you find, paying special attention to the corners.
- Prepare a mist layer of paint: You should protect your freshly plastered walls to stop them from collecting paint since they absorb moisture.
- Apply your mist coat: Coat the wall with the mist coat using a paintbrush and roller. Use dust sheets to stop spills.
For more information about plaster surface prep, refer here.
Common Mistakes to Avoid
In the last part of preparing surfaces before painting, you should pay attention to some mistakes to avoid.
Rushing the Cleaning Process
Rushing the cleaning process can cause some problems, such as:
- Inadequate Surface Preparation: Inadequate surface preparation is a major cause of poor paint adherence and can be brought on by rushing the cleaning procedure.
- Visible faults: If a painted surface is not thoroughly cleaned, visible faults may remain.
- Decreased Paint Durability: Hastily completing the cleaning procedure may result in a paint finish that is less durable.
Neglecting Priming
Priming brings you these advantages, and if you neglect the priming part, you might lose each one:
- Produces a Uniform Surface: Priming smoothes out surface irregularities such as tiny holes, fissures, and uneven textures.
- Improves Paint adherence: Primer improves paint adherence by serving as a bonding agent between the paint and the wall.
- Prevents Bleeds and Stains: Primer serves as a shield to stop paint discoloration due to stains, water damage, or nicotine seeping through.
Inadequate Drying Time
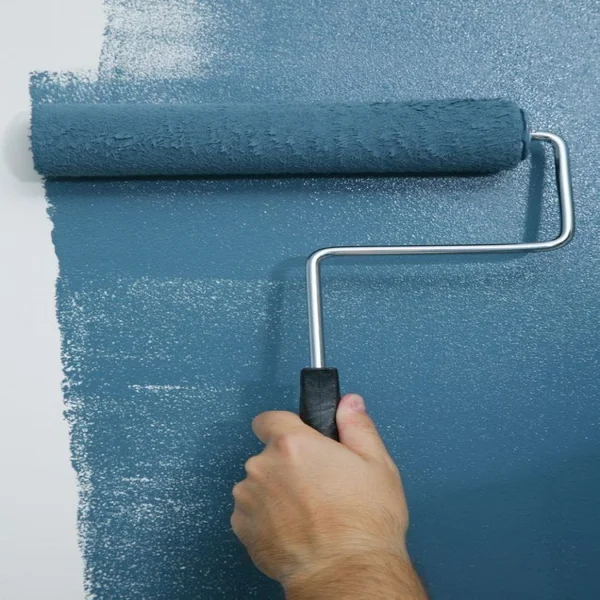
image sourced from here
Lack of wall drying time after painting can cause a number of problems, including:
- Blistering: The moisture retained beneath the paint can lead to the formation of bubbles or blisters on the surface when the paint is applied to a damp wall.
- Peeling: Paint that has not had enough time to dry off the wall may also peel.
- Mildew and Mold Growth: Moist walls provide an atmosphere that is conducive to the development of mildew and mold.
Conclusion
Preparing surfaces before painting is a very important step in painting interior or exterior walls.
Of course, depending on different factors, such as the surface material, there are different tips and solutions for preparing concrete for paint you should know.


- In this post:
- What is Paint Prep?
- The Power of Priming in Preparing Surfaces Before Painting
- Ensuring Paint Adhesion
- Pro Tips for Specific Surface
- Common Mistakes to Avoid
- Conclusion